Migrating a hosted Nextcloud instance to your Home Lab
I finally decided to move my #NextCloud instance from one that I had been operating on the #Vultr hosting service to my #HomeLab.
A note on Vultr: I am impressed with this service. I have used them for multiple projects and paid with various means, from credit card to #cryptocurrency for about 10 years and I cannot even remember a downtime that impacted me. (In fact, I think there was only one real downtime, which was planned, well-communicated, and didn’t impact me because my setup was fairly resilient). With a growing volume of data, and sufficient spare hardware that wasn’t doing anything, I decided to bring it in-house.
This is not going to be a full guide, as there are plenty of those, but I did run into some hurdles that may be common, especially if a pre-built Nextcloud instance was used. So this is meant to provide some color and augment the official and popular documentation.
Getting started
Plan out the migration
Migration Overview
Essentially, there are three high-level steps to this process 1. Build a new Nextcloud server in the homelab 2. Copy the configuration (1 file), database (1 backup file), apps (install apps), and data (all user files) over to the new system 3. Restore all the copied data to the new instance
Preparing to Migrate
- Start with the NextCloud official documentation for migrating to a different server as well as:
- Backing up Nextcloud
- and the restoring a server doc
- Check out Nicholas Henkey’s migrate Nextcloud to a new server blog post. This is very thorough and has some great detail if you’re not super familiar with Nextcloud (because you used a pre-built instance)
- For the new build:
- A full set of installation instructions, placing [Nextcloud behind an Nginx proxy](https://github.com/jameskimmel/Nextcloud_Ubuntu/blob/main/nextcloud_behind_NGINX_proxy.md.
- An older install document for Installing Nextcloud on Ubuntu with Redis, APCu, SSL & Apache
Migration
While the official documentation describes the basics, the following is the steps I recommend following. This is at a medium level, providing the details, but not the specific command-line arguments (mostly).
- Build the new server
- Use your favorite flavor of Linux (I used Debian, and these notes will reflect that)
- install all updates,
- install fail2ban or similar security if you’re exposing this to the Internet.
- name the new system the same as the outgoing server
- Download the Nextcloud install from the nextcloud download site and choose either:
- update the current system to the latest version of whatever major version your running, and then download
latest-XX.tar.bz2where ‘XX’ is your version - identify your exact version and download it from nextcloud
- update the current system to the latest version of whatever major version your running, and then download
- Install the dependencies (mariaDB, redis, php, apache, etc. etc.)
- note: if the source server is running nginx, I recommend sticking with that for simplicity, keeping in mind that only Apache is officially supported
- Unpack Nextcloud
- Validate that it’s working
- Place it into maintenance mode
- Use your favorite flavor of Linux (I used Debian, and these notes will reflect that)
Backup the data
- If using multi-factor authentication, find your recovery codes or create new ones
- Place the server into maintenance mode
- Backup the database
- copy the database backup to a temporary location on the new server
Restore the data
- Restore the database
- copy
/path/to/nextcloud/config/config.phpover the existingconfig.php rsyncthedata/directory to the new server
- you can remove old logs in the data directory
- you may need to use an intermediary step, like a USB drive. It’s best if this is
ext4formatted so you can retain attributes - the
rsyncoptions should include-Aaxryou may want-vand/or--progressto get a better feel for what’s going on - if rsync-ing over ssh, the switch is
-e ssh
- If you have installed any additional apps for your Nextcloud environment, rsync the
apps/directory in the same way as the data dir above - Validate the permissions in your nextcloud, data, and apps directories. Fix as necessary, see the info Nicholas Henkey’s post (linked above) for commands
- Redirect your A or CNAME record to the new system
- Configure SSL on the new system
- Turn off maintenance mode
- Log in and test! :fingers-crossed:
Troubleshooting
Hopefully everything is working. Make sure to check the logs if something is broken.
log locations
– the nextcloud.log in the data/ directory
– the apache logs in /var/log/apache2
– the redis logs in /var/log/redis
– the system logs, accessible with journalctl
Reiterating: Remember or check for these items
These are the specific notes I took as I ran into problems that I had to work around or solve. These are incorporated in the above, so this is basically a restatement of the gotchas I ran into:
- upgrade the current one to the latest version of the current release (i.e. the latest of the major version you are on, so if you were running 29.0.3, get to 29.0.9)
- this makes it easier when you download
<version>-latest.tar.bz2 - If you’d prefer to skip that, use the nextcloud download site with all available versions. Make sure to grab the same one and compare the specific version as listed in
config.php. Example:'version' => '29.0.9.2',
- this makes it easier when you download
- use the same name on the new server
- use the same web server. Apache is officially supported, but if you’re using nginx, it will be easier to stay on that.
- Most multi-factor authentication, like WebAuthN, FIDO hardware keys, etc. will not work over HTTP in the clear.
- IOW: make sure you have recovery codes
- If the apps aren’t copied over, the new server sees them as installed rather than installable. I suppose one could “delete” or remove them in the admin GUI and then reinstall, but otherwise, there was no button to force a reinstall.
- Files and data you need to copy over after creating the install. Do each of these separately, rather
- if you have any additional apps, copy the
apps/directory over - copy
config.php - copy the
data/directory
- if you have any additional apps, copy the
- Is your current install using Redis-based transactional file locking?
- If the previous system was using Redis and it is still in the configuration, the new system will not be able to obtain file-locking and essentially all users will be read-only and not able to modify or create new files.
- In
config.php, you will see settings such as'redis'and'memcache.locking' => '\\OC\\Memcache\\Redis', - make sure Redis is installed on the new system and running on the same port (or change the port in
config.php) - Install the necessary software:
apt install redis-server php-redis php-apcu - Ensure that the Redis and APCu settings in
config.phpare according to the documented single-server settings
The Memcache settings should look something like the following configuration snippet. Alternatively, you could enable and use the process socket.
'memcache.local' => '\OC\Memcache\APCu',
'memcache.distributed' => '\OC\Memcache\Redis',
'memcache.locking' => '\OC\Memcache\Redis',
'redis' => [
     'host' => 'localhost',
     'port' => 6379,
],
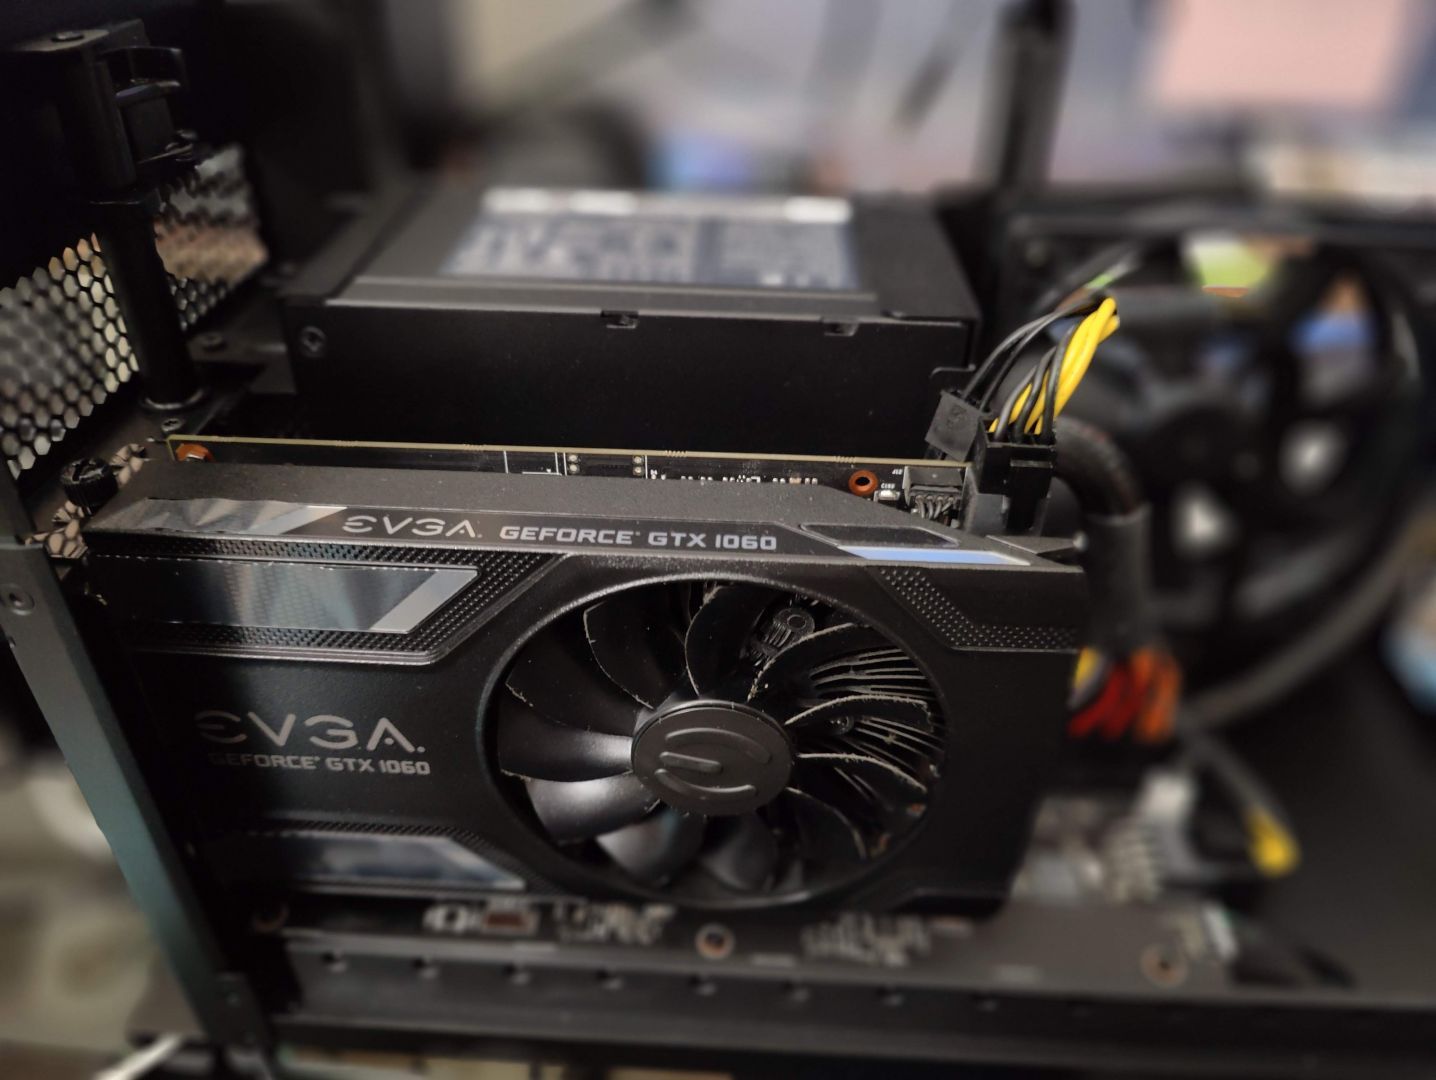 Image: Original GTX 1060 GPU slotted in the Razer Core X Chroma enclosure
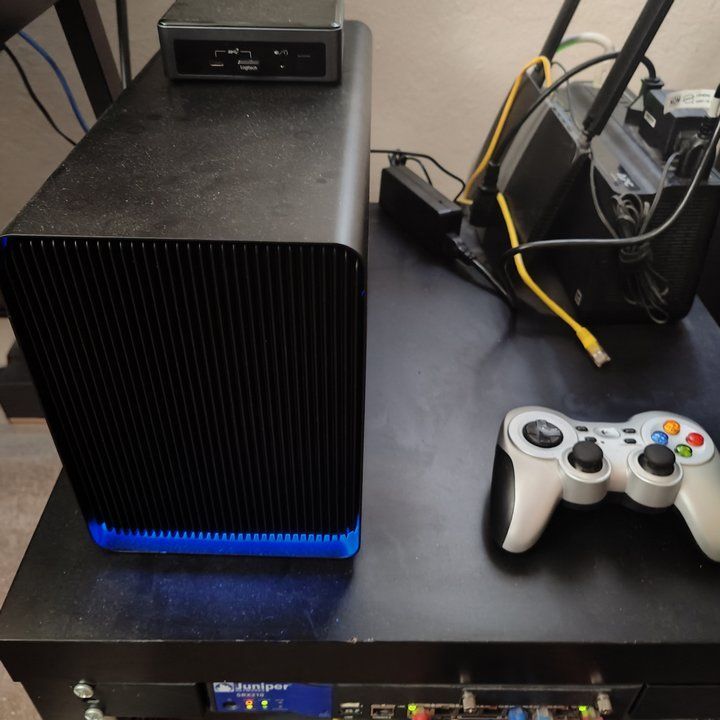 Image: Just the enclosure with a NUC on top.