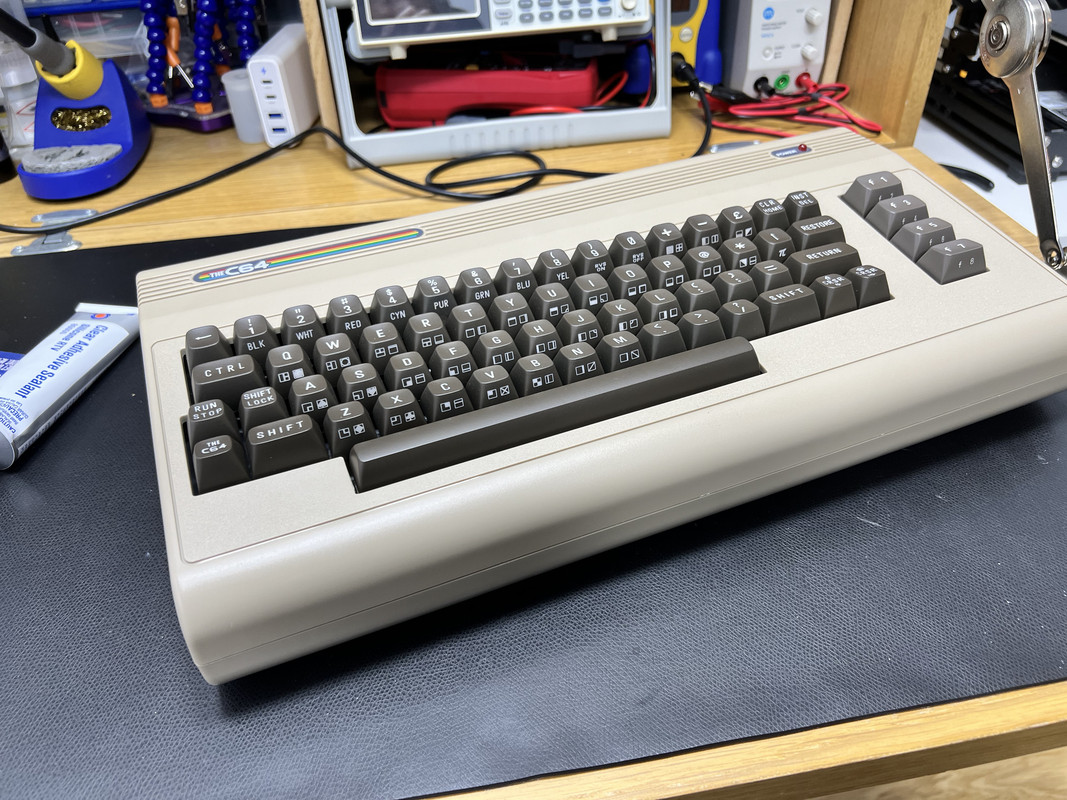
A while back I bought a The C64 – and found it to have a broken (stuck) key.
https://infosec.exchange/@ImpossibleUmbrella/111433640609308825
In that thread @markkrueg@treehouse.systems expressed an interest in my posting some photos of how the keyboard mechanism works.
Well with Christmas coming I've had a few days off work, and have finally had time to do that.
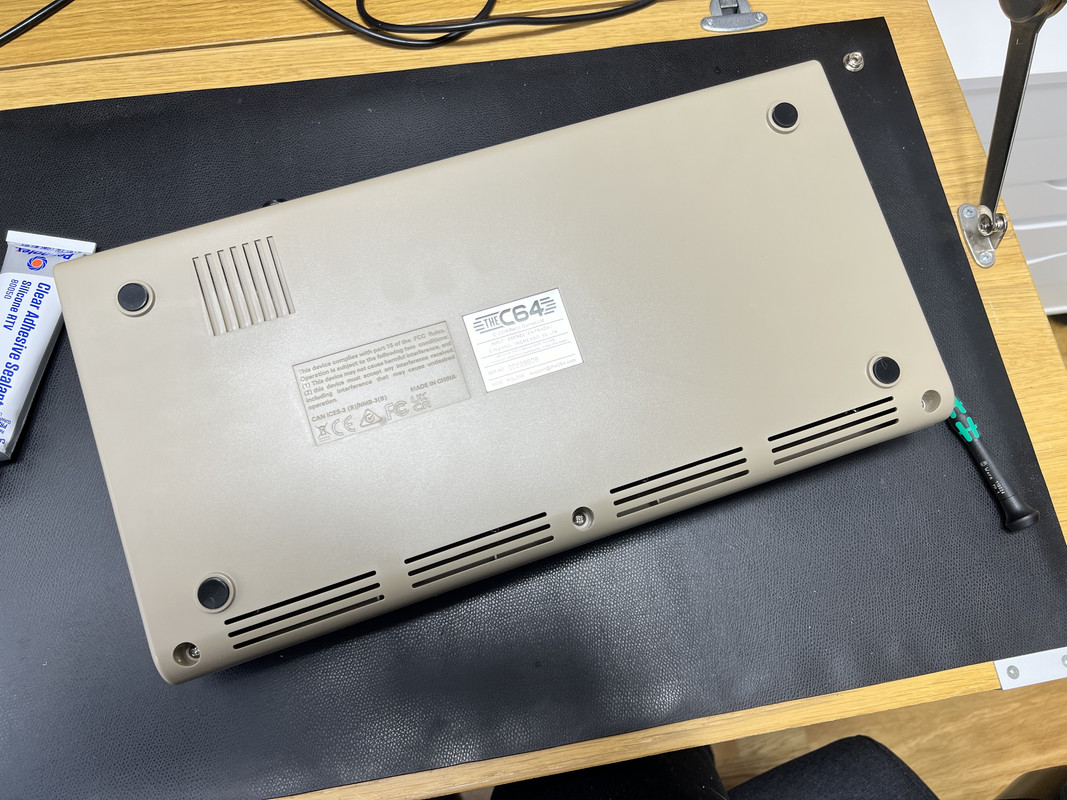
To open the case, you just need to undo the three screws along the front edge. It then opens like a book – you just need to carefully unclip the back edge. Note that all of the screws are just self-tapping screws so be careful not to over-tighten when putting it back together. Also note that there are a number of distinct sizes – so keep careful note of which screws go where!

There's very little to see inside the machine. The keyboard is fixed to the “top”, there's a small PCB for the side ports of the bottom, and then everything else (inclduing the CPU) in on that tiny main board.
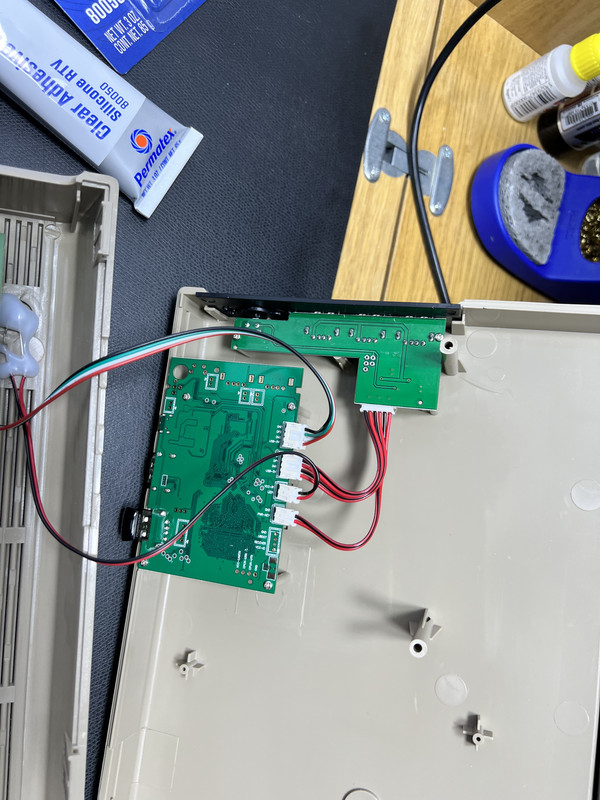
To remove they keyboard to work on it, undo the nine screws in the black plastic part that hold the keyboard to the case. (You can't see very well from the photo – but the 9th screw is in the top-left corner by the keyboard connector. You can (or at least I could on this model) undo that without removing the keyboard connector – but as you'll see I later took that off too, to make it easier to wok on the keyboard itself. There are two screws holding down that small metal bar, and there's a rubber piece underneath that. (Note for reassembly, that goes with the smoother side up, and the textured side down – I'm not sure it makes a huge difference – but always best to put things back the way you found them right!).
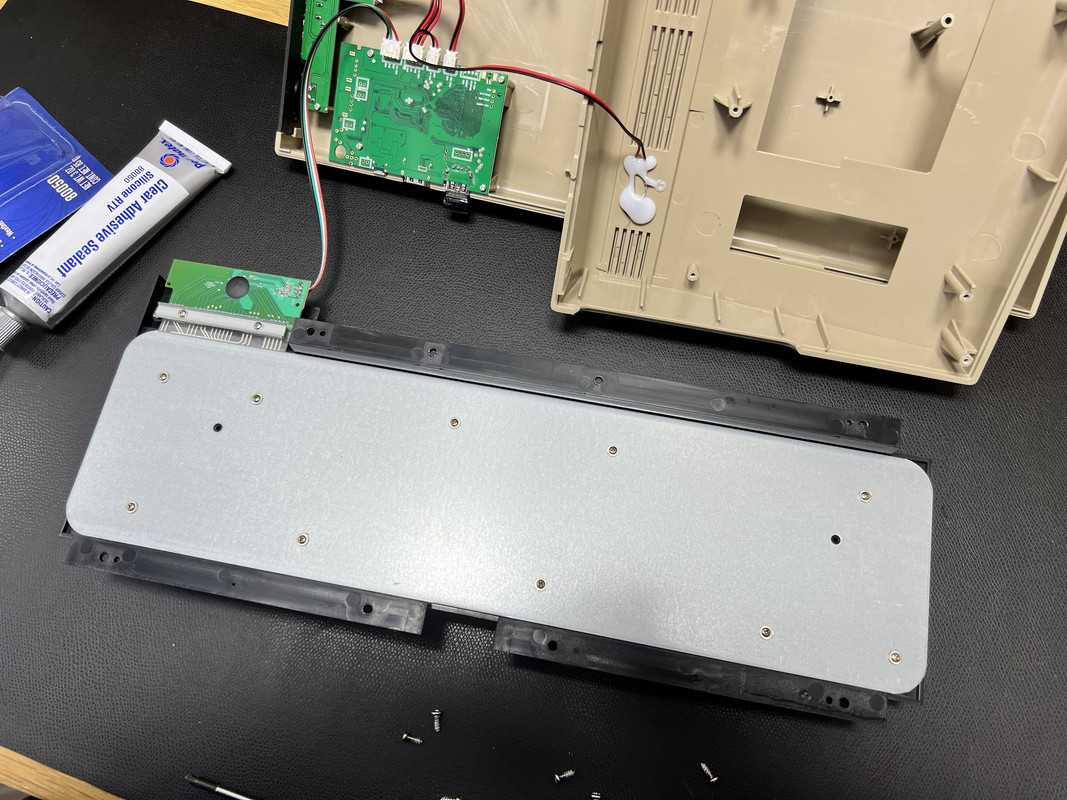
Having removed the keyboard, the next step is to disassemble it. For that, you'll need to remove the ten screws holding the metal plate in place. Given that this plate is the only thing holding the keyboard together, it might be worth propping the keyboard up so it's not resting on it's keys when you do this.
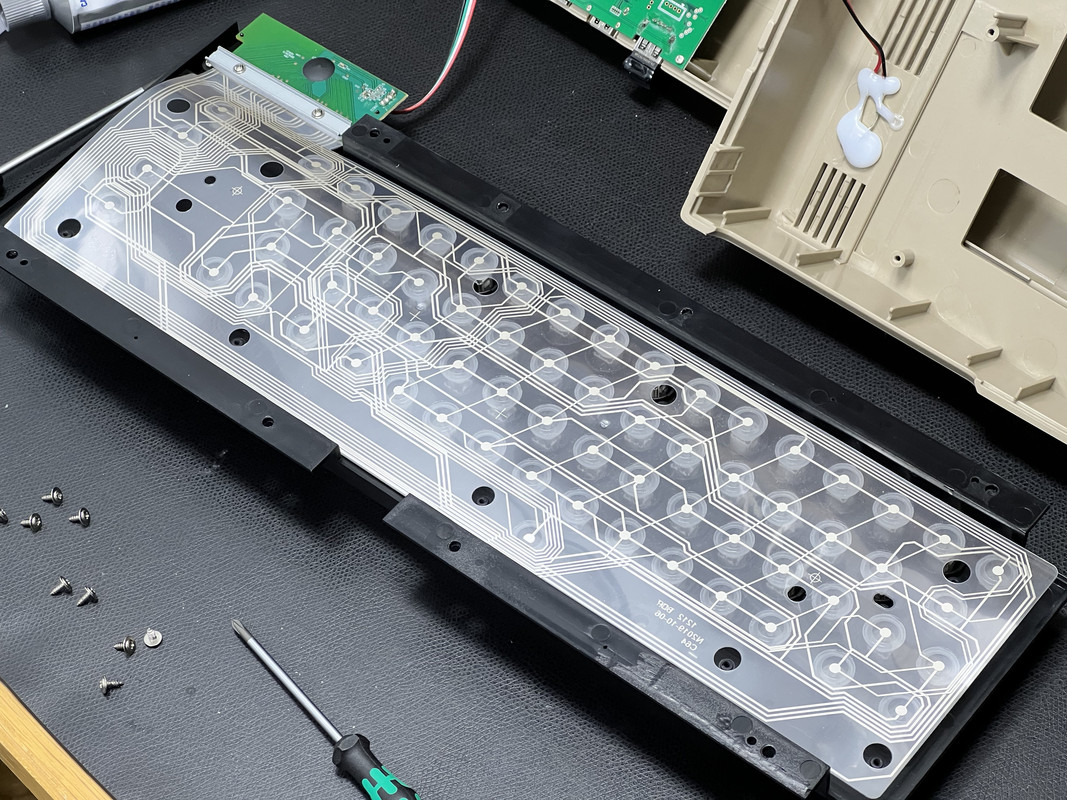
It's just a membrane keyboard inside – with they keys actuated by their stems, and with little rubber domes to provide the return. It was one of these that was glued in upside down on my model, leading to my previously having removed it, and placed it back in without any glue.
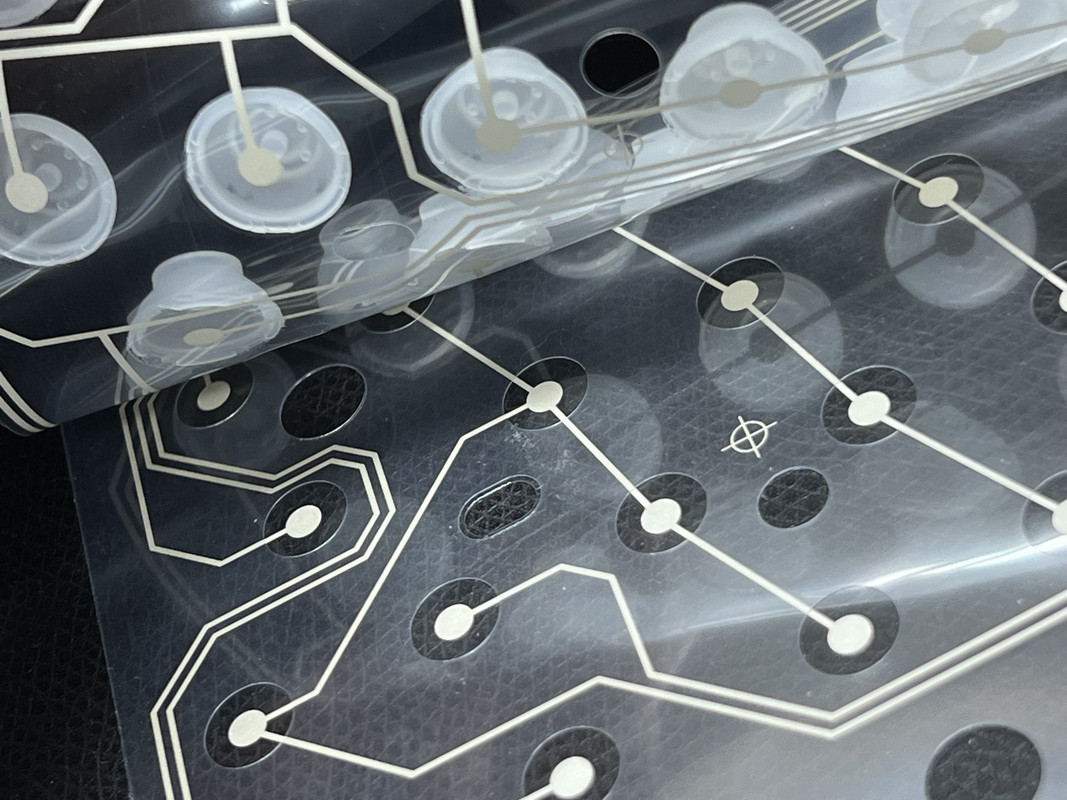
You can see in this detailed close-up how they keyboard works. It's three layers of plastic film, with traces on the top and bottom sheet – and with the middle sheet providing just enough separation to keep them apart when a key isn't being pressed.
At this point I was now able to glue the loose dome in place. As suggested by # @mos_8502@oldbytes.space I used some RTV silicone, applied with a dental tool.
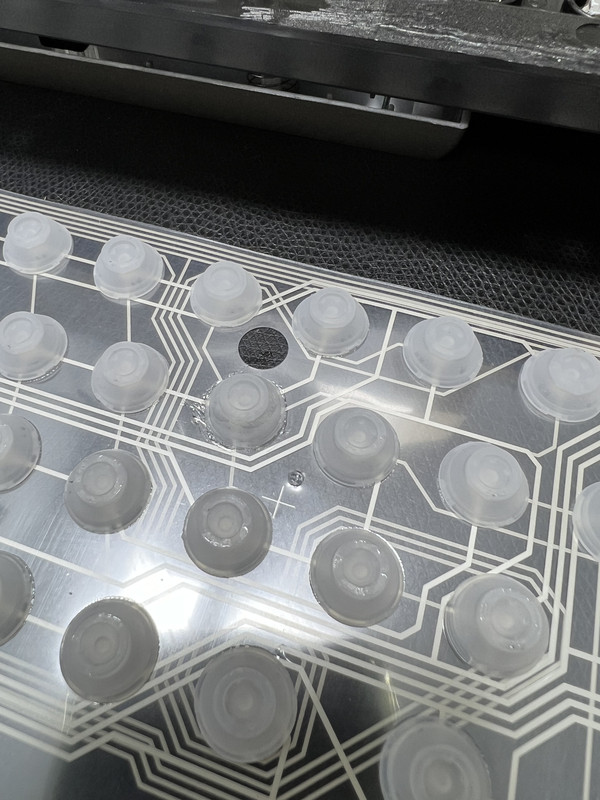
I don't think I did too bad a job of this – although you can clearly see which was the one that I glued. I make a very particular effort to avoid getting glue anywhere but this top sheet to plastic (I inserted a sheet of paper whilst I did the glueing).
Reassembly was just the reverse of the above – taking careful note (as I said at the top – but it's worth repeating!) to use the correct screws for each part of the operation. Helpfully there are a different number of each type of screw, so providing you don't drop them you should be okay.
24-hours later, I can report that the keyboard is working fine. They key works perfectly, and now feels the same as all of the other keys (unlike when it wasn't glue in – when it felt a bit wobbly in comparison).
Hopefully this & the accompanying photos is helpful and or interesting.